
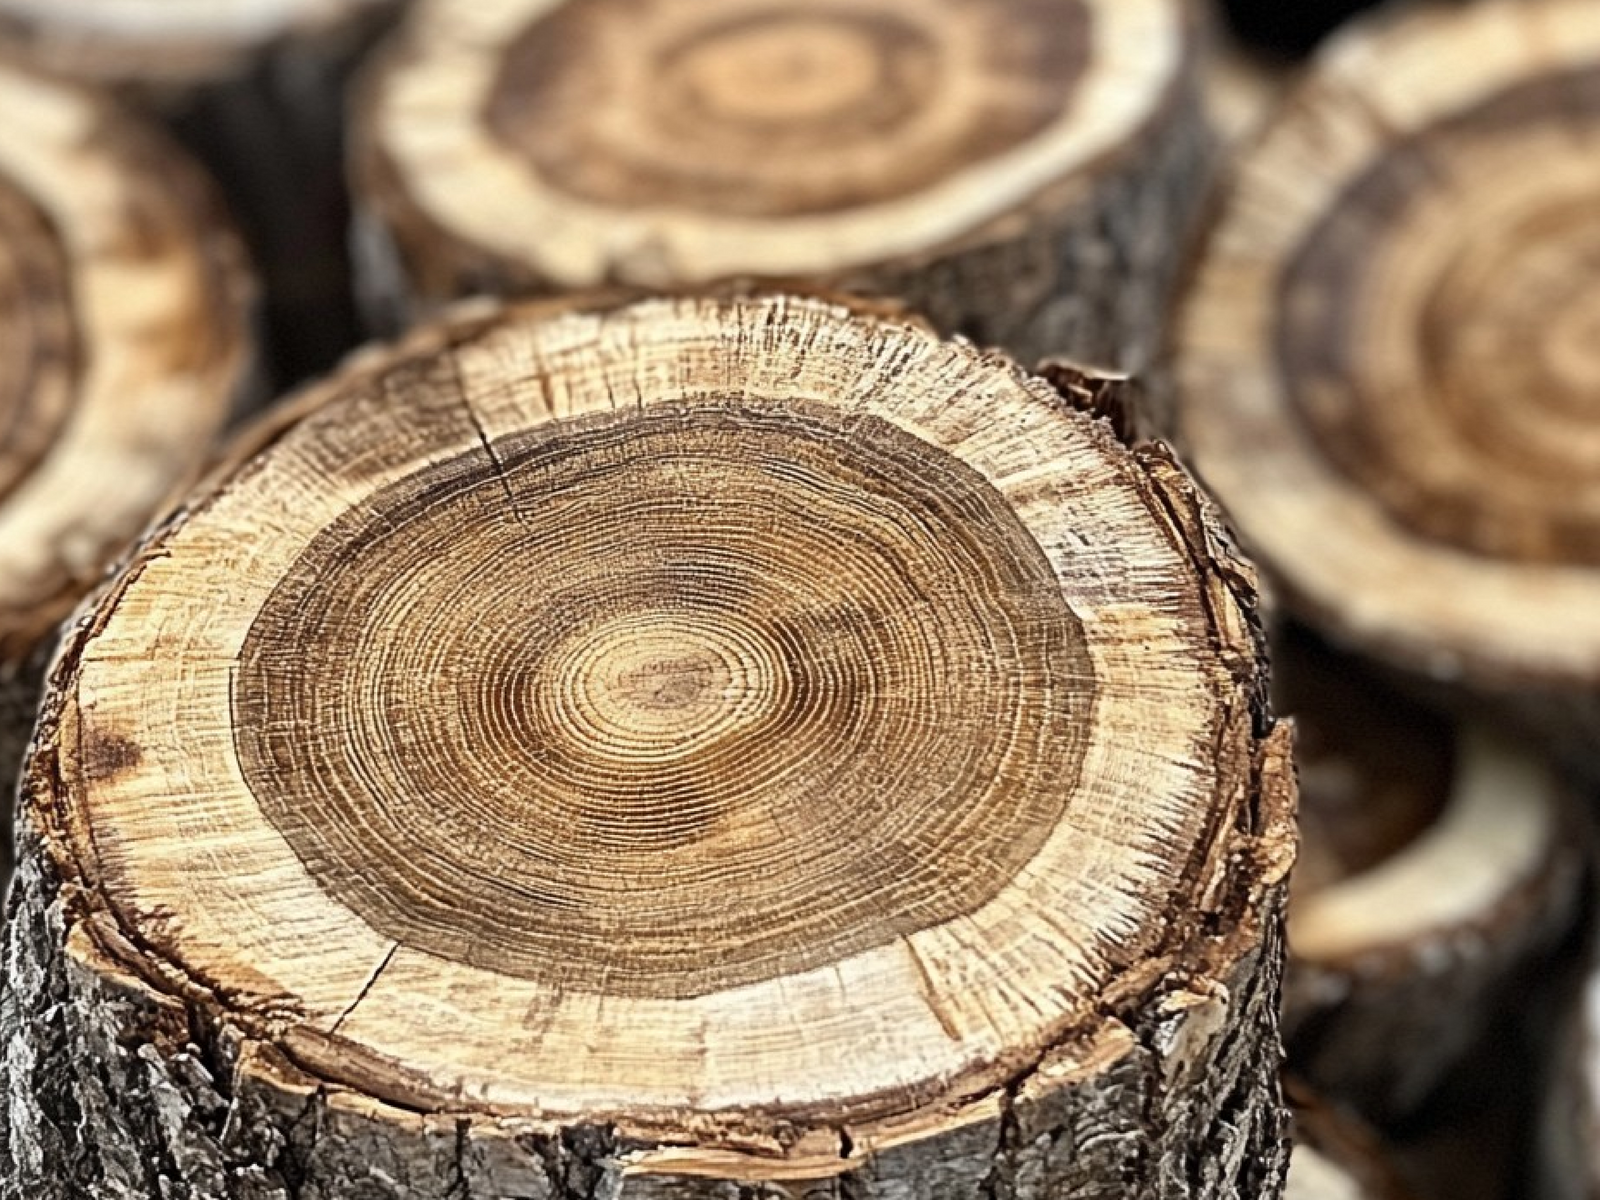
You will hear the word ‘grain’ a lot if you’re talking to woodworkers. The natural beauty and variation in wood grain is part of what attracts us to working with wood in the first place. But when we talk about using hand tools, we often use terms like “with the grain”, “across the grain”, “end grain” and so on. If you’re new to the craft you might be confused about what all this actually means – this article aims to help you get started.
It all starts with a tree
That’s an obvious thing to say, but to understand wood grain we first have to understand how a tree grows. If you remember high school science you can skip this bit (but don’t worry, we’ll keep it simple)!
You can imagine the trunk of a tree as a bundle of straws that transport water and nutrients up and down the tree. As the trunk grows taller, the straws get longer. The trunk also gets wider, with a new ring of growth (straws) each year. This is why if you look at a cut tree you can count those growth rings to determine the age of the tree.

Milling the timber
The first step to milling a tree is to cut the log to a manageable length. At each cut end of this log we have the ends of those straws, arranged in rings. This is what we call ‘end grain’.
After that, the log is cut along the length into a series of boards, which are just rectangular slices of that circular bundle of straws.

You might hear people say to sand ‘with the grain’. In this case they simply mean sanding along the length of your board so that any scratches blend in with the texture of the timber (i.e. the gaps between the straws), rather than across the width of your board. So far, so good…
Stroking the cat!
You might have noticed that trees don’t grow in perfectly straight lines. The sawmill however cuts in straight lines. So what we end up with are boards where the ‘straws’ are cut at a slight angle on the face of the board. You can see we’ve aligned the straw with the direction of the grain in the image below.

This is where we need to think of patting (or petting for our North American friends) a cat. From head to tail is nice and smooth. But if you try to pat from tail to head, the hairs get lifted and messed up. The same is true for our timber ‘straws’ – if we try to plane in one direction, we push these ‘angle-cut straws’ back down into the board and all is well (‘with the grain’). In the other direction the blade will try to lift those cut straws and our beautiful timber starts to look like that ruffled cat (‘against the grain’).

“with the grain”
 “against the grain!”
This happens because the ‘straws’ aren’t stuck together particularly well, so they lift up before the blade can cut them. This is why it is easy to split a log with an axe, but not so easy to cut across it.
And that’s all there is to it (for now)!
It really is that simple. Sort of. Sometimes you will have a board where the grain ‘reverses’ and you might need to plane against the grain in one section (see 5 Tips for Taming Tearout for some tips to deal with that). Or you’ll be wanting to plane the end grain (see Mastering End Grain with a Jack Plane & Shooting Board).
We’ll continue to build on this basic principle in future blog posts, but hopefully this gets you started with reading the timber on your workbench. A solid understanding of wood grain will allow you to select the right tools or techniques for the job, achieve better surface finishes more quickly, and guide the design of your woodworking project with strength and wood movement in mind. Stay tuned!