When you're starting out in woodworking, one of the most satisfying skills to learn is jointing an edge by hand. There's something timeless and grounding about flattening and squaring a board using nothing more than a sharp hand plane, your senses, and a little practice. In this guide, we’ll walk you through the basics of edge jointing—what it is, why it matters, and how to do it using the Melbourne Tool Company Low-Angle Jointing Plane.
What Is Edge Jointing?
Edge jointing is the process of preparing the edge of a board so that it is straight and square to the face. This is an essential step when you're gluing boards together for panels like tabletops, doors, or cabinet sides. A properly jointed edge ensures a tight, seamless glue joint and a flat finished surface.
Why Use a Hand Plane?
While machines like jointers can speed up the process, a sharp hand plane offers unmatched control, accuracy, and satisfaction. Plus, it’s quieter, safer, and doesn’t take up half your workshop. At Melbourne Tool Company, we’re big believers in the joy and precision of hand tools—and edge jointing is a great place to start.
Step-by-Step: How to Joint an Edge
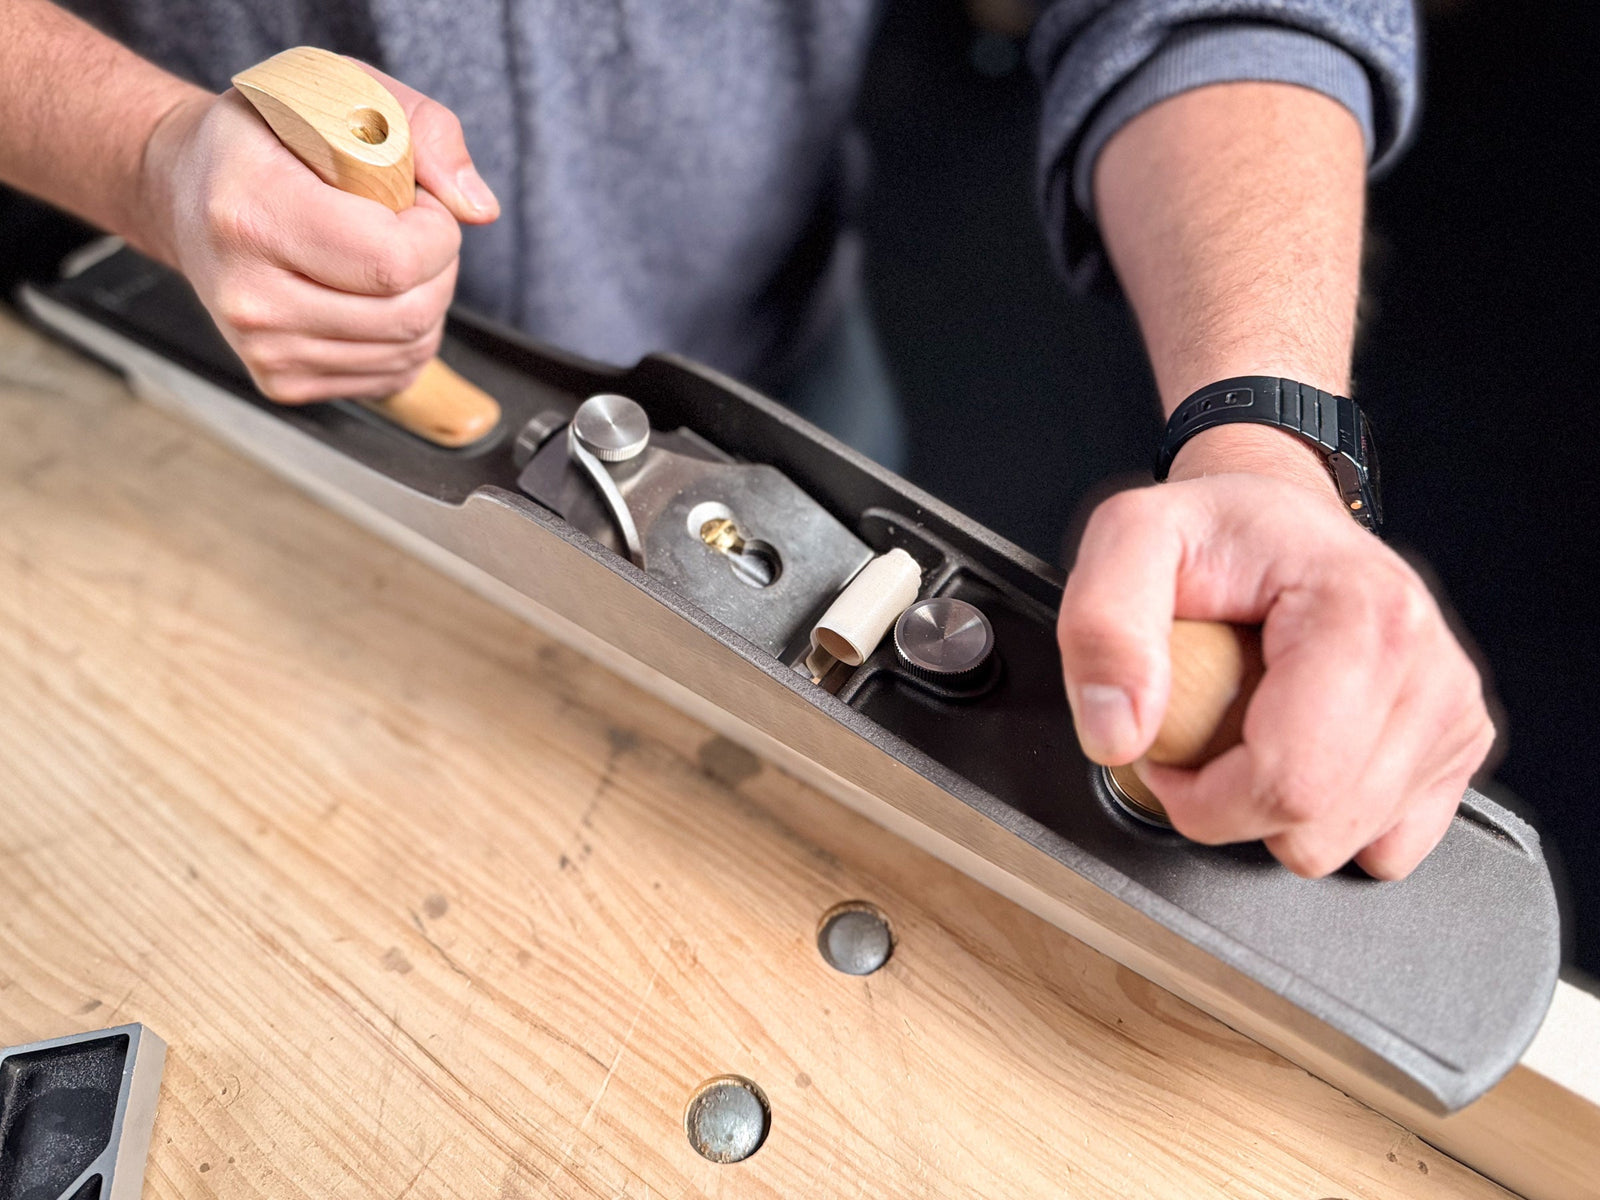
1. Secure Your Work
Clamp your board in a vice so that it’s nice and secure. Stability is key—you want both hands free for planing.
2. Determine whether you have a ‘valley’, a ‘mountain’, or an ‘ocean’.
Before you start working towards a perfect edge, you want to be sure that you have a board that is either low in the middle, or wavy with a number of peaks and valleys.
- If you have a gradual curve that is high in the middle, get rid of that first by taking some stopped shavings. Do this by starting your stroke about 1/3rd the way along the board, and then lift the rear of the plane to stop the shaving as you get 2/3rds the way along.

3. Start Planing
With firm, even strokes, begin removing high spots. Working along the full length of the board, listen to the sound of the cut. You will hear the plane taking short, interrupted cuts as it shaves the high spots, that will gradually get longer and longer. Your aim is a continuous shaving the length of the board.

4. Check your work.
Check the board against a known straight edge. You can remove any high spots with a stopped shaving as described above, just be sure to take a continuous shaving to finish.

5. Check for Square
After a few passes, place a square against the planed edge. If it’s not square to the face, take slightly heavier cuts on the high side. Large errors can be corrected by adjusting the blade in the plane, but small errors can be dealt with by taking a shaving with the plane biased to the high side.

6. Test the Joint
When edge jointing boards for gluing, hold the two edges together. If they close cleanly without any gap showing, you’re done!

Bonus Tips
When you’re just starting out, it’s easy to turn the board into a ‘mountain’ again when taking full length shavings. If you notice this tendency, the heel of the plane is probably slightly too low when starting the cut – really concentrate on keeping the plane level.
If you don’t have a Jointing Plane, you can try this technique out with a Jack, Smoothing or even a Block plane. Just keep in mind that with longer boards, you will find a dedicated Jointing Plane much less frustrating.
When joining two boards together, put them face-to-face in the vice and plane them at the same time. It halves the work, and as an added bonus if your edge is out of square, it doesn’t really matter – the two angles will cancel each other out.